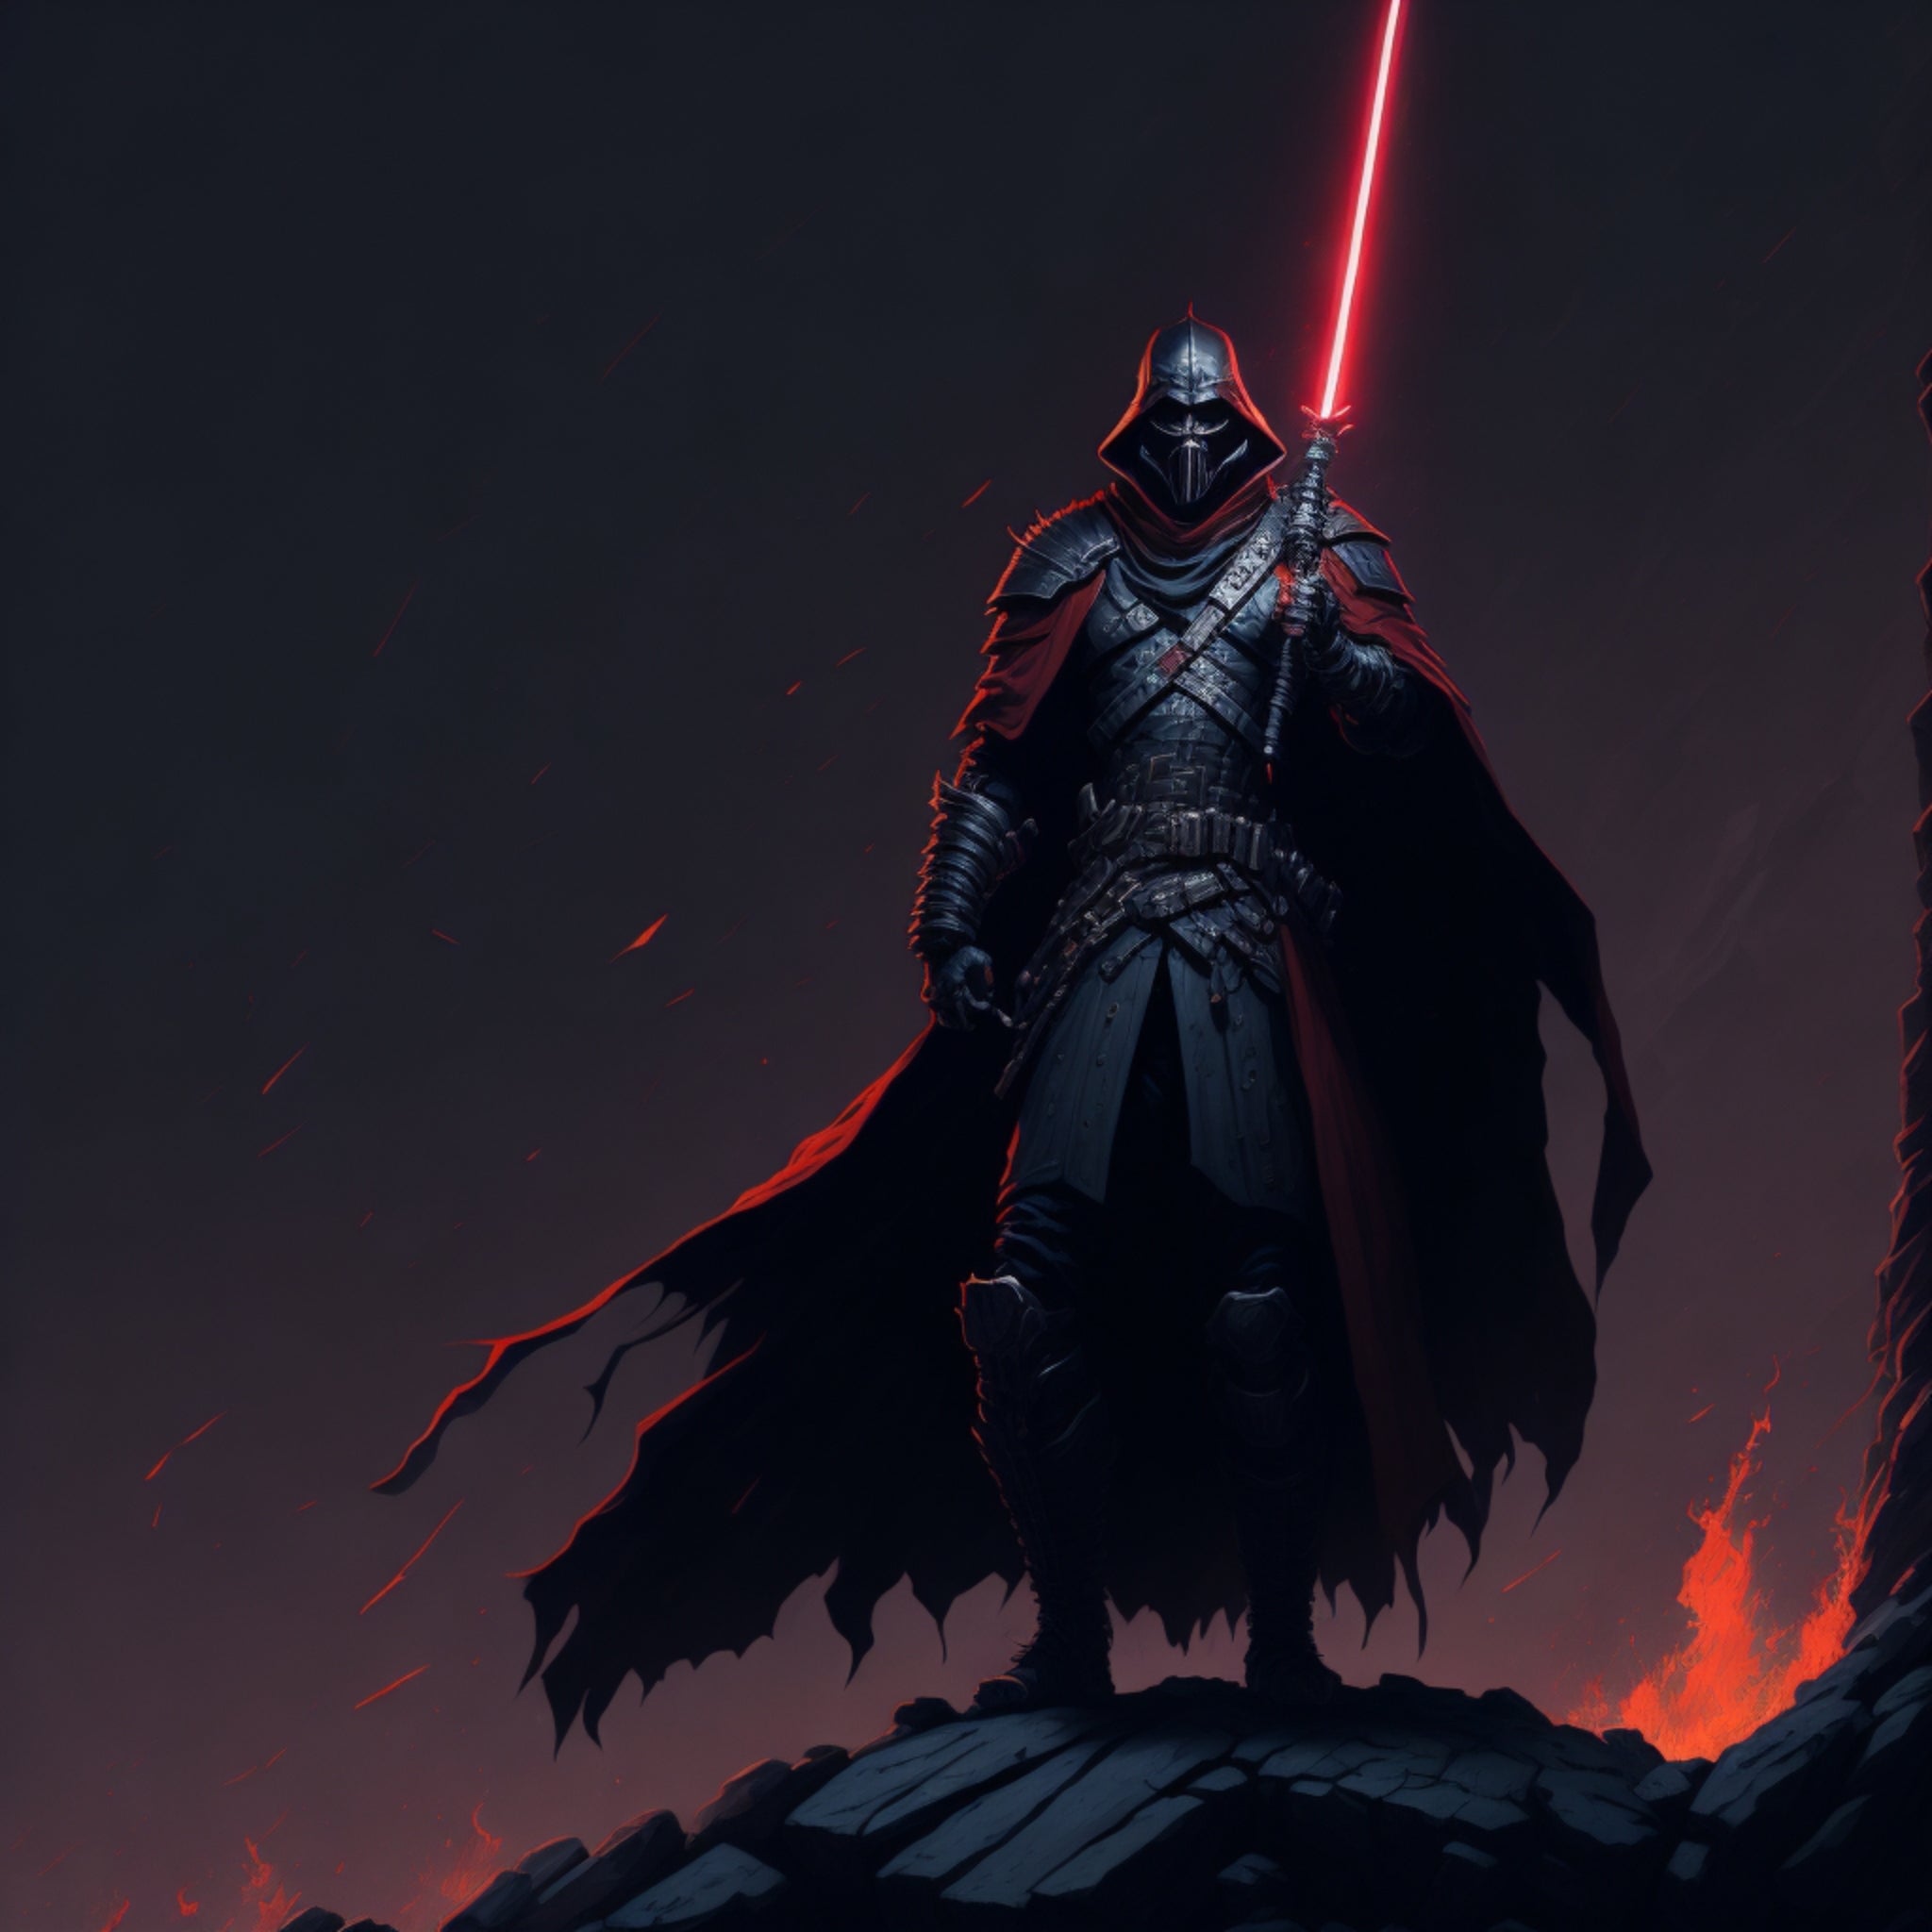
Lightsaber Instructions
All our lightsabers are full-featured and boast functions like smooth-swing, flash-on-clash, multiple blade colors, blaster deflection and more.
What's more amazing all of these features can be controlled with just one button.
The specific instructions vary based on the core type. The core is the electronic component of a lightsaber that includes a small processor, audio amplifier, a speaker, 6 axis gyroscopic motion sensor and more.
We feature lightsabers with three core types: Baselit, Xeno3 (Xenopixel/Neopixel), Proffie. You can learn more about them here.
Follow the links or watch the videos below for instructions on your specific core type.
SAFETY NOTICE
Fully charge saber before operating! Use only Included cable with 5V 1A USB or 5V wall charger. Failure to comply with these instructions may result in a fire hazard, or damaged electronics. This will void your warranty.
Warning:
This product is not suitable for children under 8 years old. Children under the age of 8 years should always be supervised by an adult to prevent injuries. Always be aware of your surroundings and use safely.
WARRANTY
Our full saber electronic kit and hilt products carry a one (1) year limited warranty from date of receipt. This warranty covers defects found in original workmanship and original materials only, and does not extend to modified products of any kind.
The warranty does not apply to software for electronics; modifying software or firmware may alter the operation of your hardware. and issues caused by software changes (such as product becoming unresponsive, lag, sound issues, blown speakers from increased volume beyond safe levels) are not covered by this warranty, but will not void your warranty against other manufacturing defects. Product wear, and minor damage is expected. Blades and batteries may be exempt from warranty, solely at the discretion of the seller. Software, and exempt parts will only be
considered at the discretion of the seller on a case-by-case basis, taking into account time frames from purchase and scope of use.
Warranty Disclaimer:
including the previous limitations, please be advised that we do not offer warranty service on products as
follows: Products that have exceeded the limited one-year period. Products where the customer has failed to comply with requirements of product use. This includes improper storage, neglected maintenance, improper battery storage or use, any damage caused to the electronics or hilt.
Missing Parts:
Rarely, some items might be overlooked in the packing process, or out of stock at the time of packing. These items are part of your saber package and include the following:
-Screws
-Hex Keys
-Charging cable (external charger on select hilts)
- Blade size adapter (Select hilts)
-Cross-guard side blades (Select hilts)
If any of these items are missing, please reach out to your vendor to have them provide service for the missing part.
Extras:
When stock is available, your vendor will, at times, provide extra, or bonus, products. These extras include, but are
not limited to, the following: Protective (collector) hard cases, protective ABS soft cases, extra jewels or thumbscrews, extra control box PCB plates, blade plugs, display stands, crystals, Covertec clips or buttons, O-rings, Beskar Ingots, couplers or connectors, grip wraps. These items, unless purchased, individually from your vendor, are non-essential, bonus products. The sole purpose of these extras is to provide additional protection in transit(cases) or non-essential options for your product. In the case where you purchased these items separately, you can reach out to your vendor for assistance; otherwise, any extra or bonus product that is broken, missing or defective is not covered under this warranty in any way, and will not be replaced. Please note that, if your vendor indicates that your product will come with extras above, you will need to reach out to them concerning their company warranty on these products.
Basic Instructions
Press and hold the LED button to bring out of sleep mode. You will hear a ‘Power On’ voice. The saber is now in Wake mode. If equipped with an LED button, the button will light up. Watch this LED when controlling the saber, as listed in the table below.
Press the button once, quickly, to turn the blade on.
The following controls activate when the blade is on, and are based on the flash of the LED button light (if equipped with an LED button):
1-A quick press will initiate a single blaster deflect effect
2-Press and hold the button for ONE flash
(1 second), then release. This will initiate the drag effect. A quick press will end the drag effect.
3-Press and hold the button for TWO flashes (2 seconds), then release. This will initiate the color cycle. When the color you want shows, a quick press will end the color cycle.
4-Continue to hold the button PAST TWO flashes (2 seconds) to turn off the blade.
While the blade is off, the following controls are activated based on the flash of the LED button light (if equipped with an LED button):
1-Press and hold the button for ONE flash (1 second), then release. This will change the volume.
There are 3 volume settings: Volume High, Volume Low, and Mute.
2-Press and hold the button for TWO flashes (2 seconds), then release. This will change the blade effect. There are 5 blade effects: Steady, Pulse, Rainbow Blade, Unstable, and Fire Blade.
3-Press and hold the button for THREE flashes, then release. This will change the blade mode; There are several blade-modes, including some pre-on effects.
Blade effects will affect pre-ons, but will not have any effect on Blaster Blade and Ghost Blade modes. Only blade color and font selection impact these modes.
4-Press and hold the button for FOUR flashes
(4 seconds), then release. This will change the sound font. The selection of fonts can be customized by the user.
Advanced Controls: MOTION
There are several motion or manual controls available on the XenoPixel V2.
1-A direct and quick-stabbing motion with the hilt level will turn the blade on, or off.
2-A quick twist while the hilt is pointed down will change the font to the next on the list.
3-Twist quickly when the handle is up. The music track will play and a quick spin again will stop the music.
4-Hold the button and impact the hilt/blade to activate lockup. Release the button to end the lockup.
5-While holding the button, a quick twist while the hilt is pointed down will change the selected blade color. Release the button to select the current color.
Updating Firmware:
In order to update effects, potential issues, and make improvements, firmware updates may be released as needed. To make this as easy as possible to update, we currently only require one file be added to effect the upgrade. Please follow the steps below to upgrade your XenoPixel V2 board:
1 Remove the grip and pommel to access your XenoPixel chassis.
2 Carefully remove the battery. This is most easily done by lightly tapping the end of the chassis against your hand. Remember the chassis is marked to ensure, on reinserting the battery, that the positive and negative ends line up correctly.
3 Locate the micro-SD card in the chassis. Be sure to note the orientation to make re-installation easier.
4 Carefully remove the micro-SD card. Use your fingers or tweezers. Do not force the card upward or downward, as this could damage the connector.
Updating Firmware:
The next set of steps are for the installation of the firmware:
1 Download the 'update.bin' file from your vendor/source. Open the file's location on your PC or Mac.
2 Open the micro-SD card, and open the 'set' folder shown below:
3 Drop the 'update.bin' in the 'set' folder, as shown:
4 Once the. bin file is in the 'set' folder, safely eject your micro-SD card, and install it back into your chassis.
Converting Sound Fonts:
Converting sounds over to work with XenoPixel can take some patience, but it is not a difficult process. Currently, conversion must be done manually.
The font folder must be numbered sequentially; XenoPixel will not read folders with names. You will not likely have to edit any sound files from existing popular sound font formats, such as Proffie or CFX, but you will have to remove some files, and rename others.
The above example shows XenoPixel accepted sound file types. Although the example only shows a maximum of 2 for each sound, you can add many more (up to 16 have been tested). Windows 10 will automatically number renamed files of the same name, making converting multiple files of the same type much easier.
TROUBLESHOOTING
1 -Saber does not start after charging?
Remove the battery and check the battery contact plates, to ensure they are making contact. Gently bend them out if they are not making contact, reinsert the battery,and turn on the saber. If there is no response, charge again. (If possible, use a different charger).
2-Saber has no swing, hum or clash sounds?
Usually this is from low battery power. Charge the saber for. hours. In Xeno, ensure files are setup on the micro-SD card, and ensure the micro-SD card is seated properly.
3-Saber stops working suddenly?
Remove the battery and check the contact plates. Reinsert the battery, charge the saber and try again. If there is no response, contact your seller.
4-Saber is hot near the emitter?
It is normal for the LED in the emitter to generate heat, but the emitter should diffuse most of the heat. As such, please do not turn on the electronics when removed from the hilt, as the heat may damage the chassis without the aluminum emitter to diffuse the heat.
- Choosing a selection results in a full page refresh.